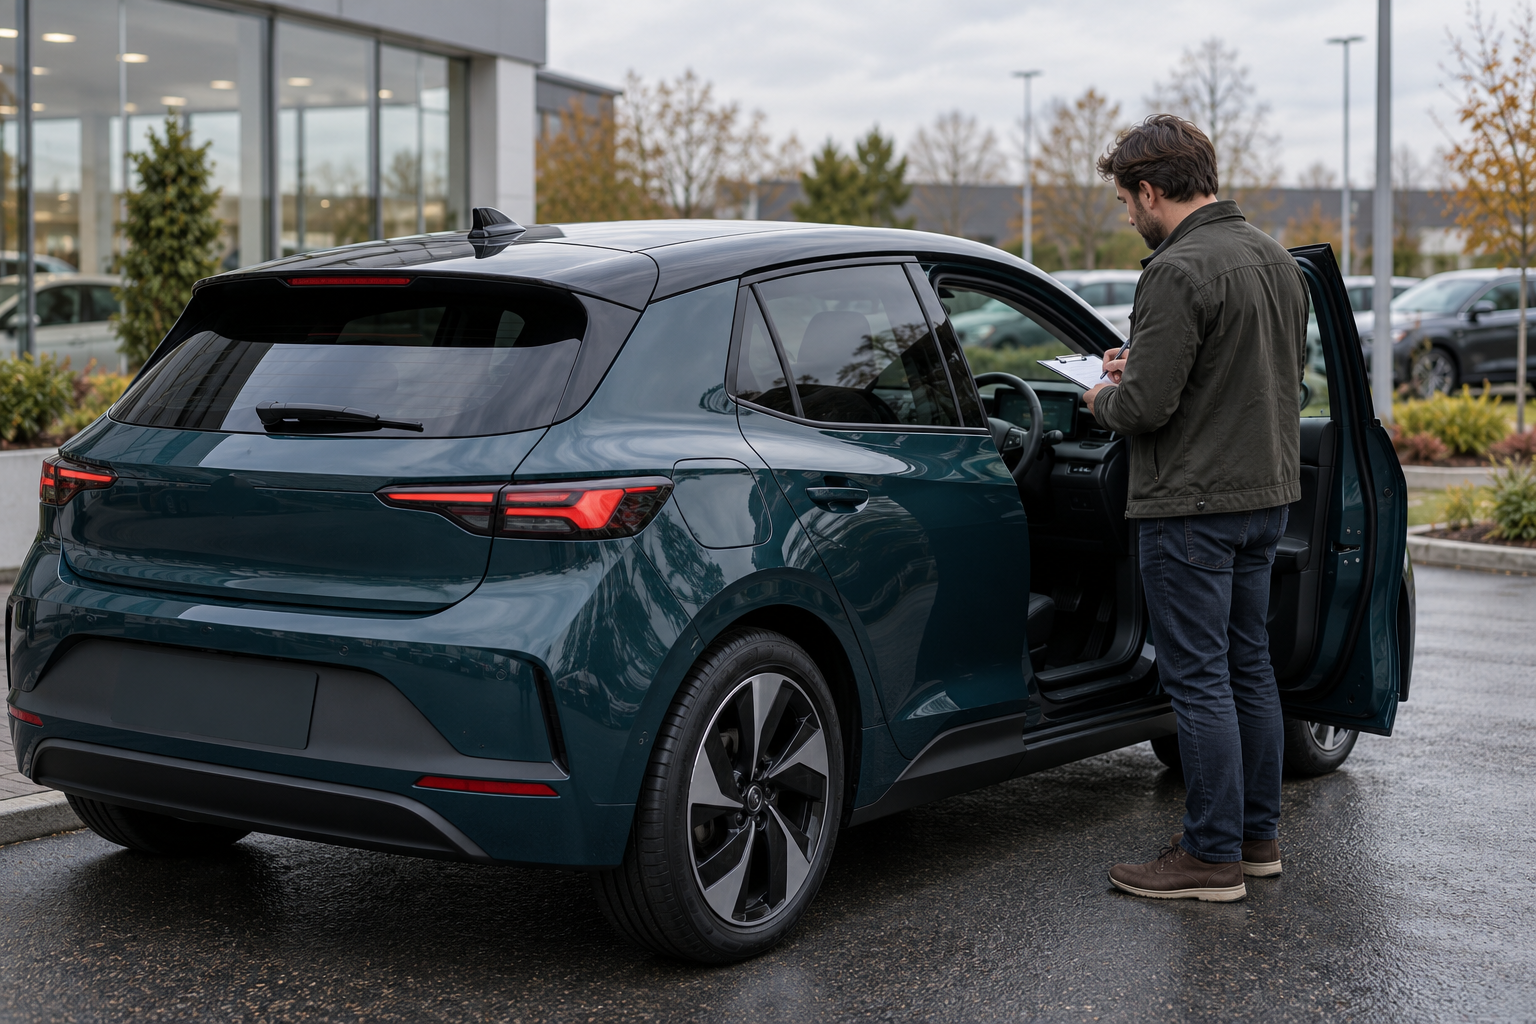
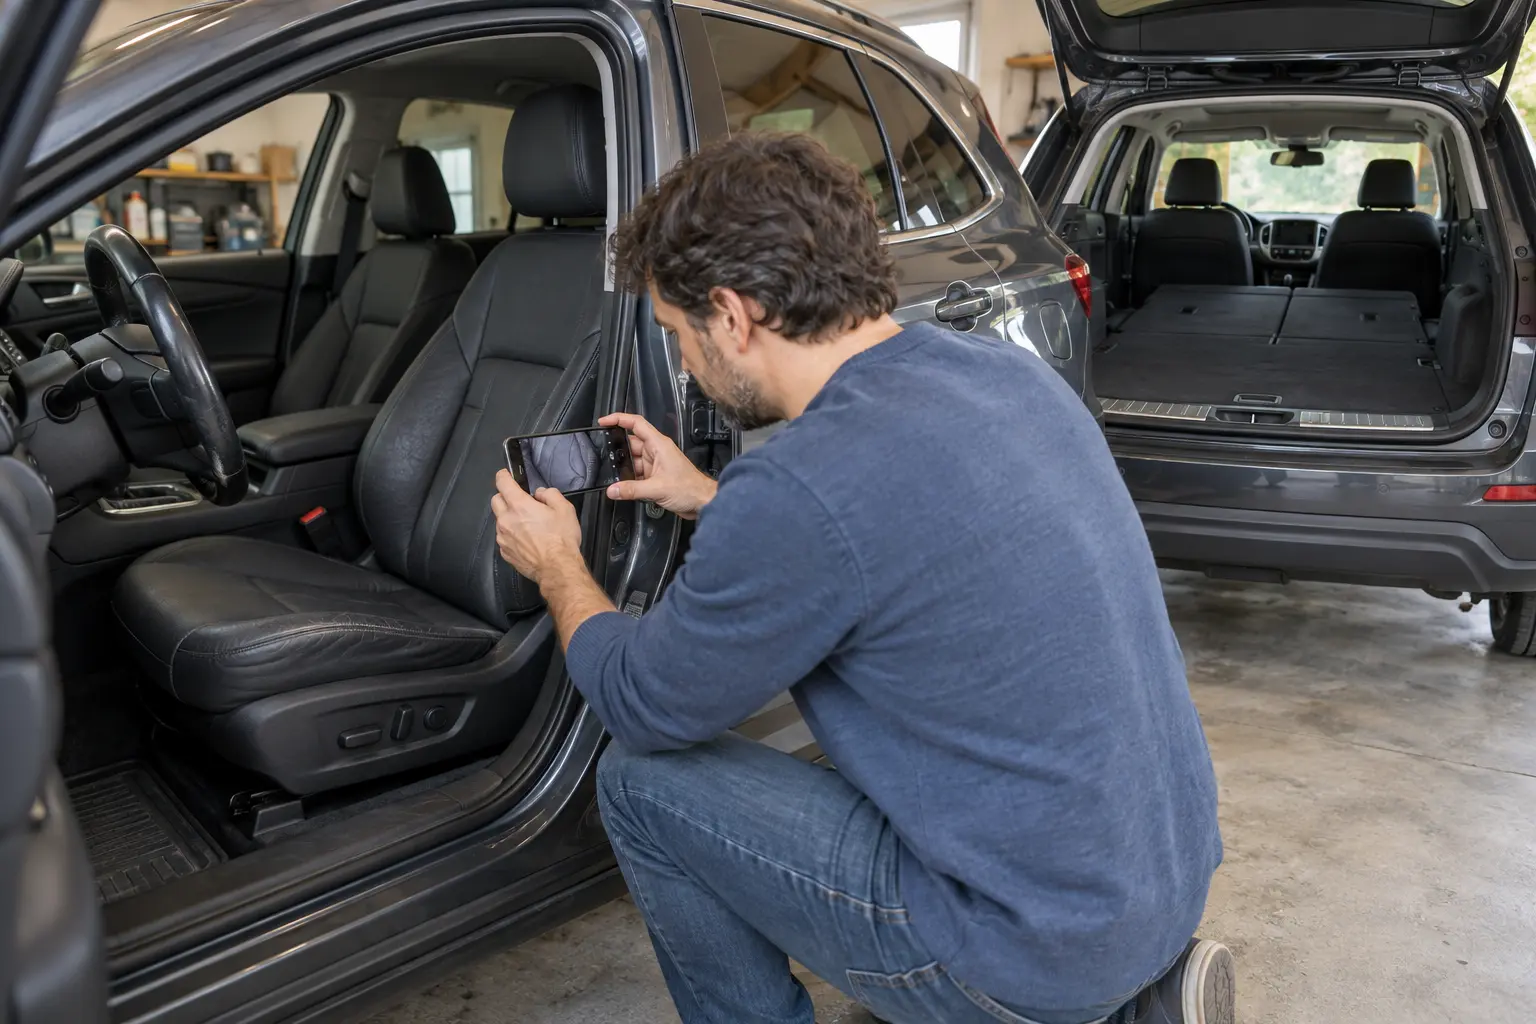
Interior wear is easy to describe badly and surprisingly easy to photograph badly. A bright reflection can make a worn seat look new, a dark cabin can hide a stain, and a close-up without context can leave a buyer unsure which part of the car they are seeing.
This guide gives private sellers and dealership staff a repeatable photo sequence for the driver’s seat, steering wheel, rear seating and cargo area. It is a photography workflow—not a condition grade, mechanical inspection or promise that every defect is visible. The illustration above is fictional and is not evidence of a real listing, vehicle or customer.
1. Record the car’s state before taking detail photos
Start by writing the capture date, current odometer reading and the interior configuration you are about to photograph. Remove loose personal belongings and ordinary trash, but do not cover wear with a temporary mat, seat cover, steering-wheel cover or cargo liner unless those items are part of the sale and you also photograph what is underneath.
Photograph the cabin before applying a dressing or treatment that changes the surface sheen. If you clean the interior first, let surfaces dry and state that the photos show the cleaned condition. Do not use a photograph from an earlier condition as though it were current.
2. Capture the same 10 views in the same order
A fixed order makes the set easier to review and harder to mix with another vehicle. Use these ten views as a starting point:
| Photo | View | What it should show |
|---|---|---|
| 1 | Front-cabin overview | Both front seats, dashboard and center console from an open door. |
| 2 | Driver’s seat context | The full seat, headrest, cushion and outer bolster in one frame. |
| 3 | Driver’s bolster detail | Creasing, scuffing, cracks, tears or repaired material with enough surrounding area to locate it. |
| 4 | Steering wheel | The complete rim, spokes and high-touch sections under even light. |
| 5 | Driver controls and floor | Pedals, floor mat, sill and frequently touched buttons without implying that every control operates. |
| 6 | Rear-seat overview | The complete bench or individual seats, belts and visible floor area. |
| 7 | Rear-seat detail | Any stain, indentation, loose stitching, tear or child-seat impression that needs a closer view. |
| 8 | Cargo area, normal position | The opening, floor, side trim, cover and rear seatbacks in their ordinary position. |
| 9 | Cargo floor and lower storage | The lifted floor or accessible compartment, plus the condition of the panel and included pieces. |
| 10 | Alternate cargo configuration | Folded or moved seats, removable cover, divider or included accessory exactly as offered. |
Add a separate view for every condition point that would be unclear in those ten frames. Do not remove an overview to make room for close-ups; the overview tells the buyer where each detail belongs.
3. Use even light instead of flattering light
Park in open shade, a bright garage with diffused light or another location where the cabin is visible without hard sun bands. Turn off beauty filters, portrait blur and automatic effects that smooth texture. Avoid a flash pointed directly at glossy leather or trim because it can create a white reflection that hides the surface.
- Keep the camera’s exposure similar across comparable seats.
- Move the light or vehicle when one side is in deep shadow instead of raising brightness until dark material turns gray.
- Take a second angle when glare crosses a worn area.
- Check the saved full-size image, not only the small phone preview.
- Retake a blurred frame; sharpening software cannot restore condition detail that was never captured.
Color can also shift under mixed daylight and warm garage bulbs. If the upholstery color matters, use one dominant light source and include a wider cabin view. A photo is still not a calibrated color measurement, so describe unusual color carefully.
4. Give every important wear point context, location and detail
For a noticeable tear, stain or worn patch, use three related images:
- Context: the full seat, steering wheel or cargo panel.
- Location: a medium frame showing where the condition sits on that part.
- Detail: a sharp close-up showing texture and edges.
Keep orientation consistent. If the overview is taken from the open driver’s door, avoid flipping the close-up or rotating it until left and right become ambiguous. When size is difficult to judge, state an approximate measurement in the listing or place a neutral reference beside—not over—the condition point.
5. Describe what the surface shows, not what you assume caused it
Different surfaces reflect wear differently. Leather and coated vinyl may show creasing, surface cracking, shine or color loss. Fabric may show staining, pilling, pulled threads or compression. Soft-touch trim may show peeling or tackiness. Carpet may show matting, fraying or a persistent mark.
Use observable wording such as “surface creasing on the outer driver’s bolster” or “dark stain on the right side of the cargo floor.” Do not turn an image into a diagnosis: a photo cannot establish that a seat structure is sound, an airbag system is intact, a stain has no odor, water never entered the vehicle or a repair will last.
The FTC’s advertising guidance states that advertising claims must be truthful, not misleading and evidence-based. Its small-business advertising FAQ likewise emphasizes having support for objective claims. A listing photo should support the narrow condition statement you make, not a broader claim such as “perfect interior” or “no wear anywhere.”
6. Photograph cargo configurations separately
Cargo capacity and cargo condition are different questions. Show the normal seating position first, then each configuration you actually advertise. If the second row folds in sections, photograph the offered arrangement rather than implying that every configuration was tested.
- Show the cargo floor before lifting it.
- Show accessible lower storage without removing fixed trim.
- Photograph the cargo cover, net, divider, spare-wheel equipment or charging-cable bag only if included.
- Identify a missing panel or accessory instead of staging a different one for the picture.
- If the seatback or floor has pet hair, stains, gouges or load marks, include both location and detail views.
Do not place heavy objects on folded seats merely to demonstrate capacity, and do not make a volume or load-rating claim from appearance. Use the manufacturer’s applicable documentation for specifications and the actual included equipment for the listing.
7. Set a clear boundary for edits
Reasonable cropping, straightening and modest exposure correction can make a truthful image easier to read. They should not change the apparent condition. Keep the original files and make derivatives for publication.
| Usually acceptable | Misleading for a condition photo |
|---|---|
| Crop empty background while keeping location context. | Crop specifically to remove a visible worn edge or stain. |
| Correct overall exposure so the cabin is visible. | Lift shadows only where a defect appears or smooth surface texture. |
| Blur unrelated personal information under a documented privacy process. | Clone clean material over wear, remove a warning, replace trim or generate a cleaner surface. |
| Rotate a tilted image without changing orientation labels. | Mirror an image so left and right no longer match the car. |
If privacy requires obscuring a document, address, face or unrelated license plate, preserve the protected original and label the publication copy as an edited derivative. Privacy editing is not permission to alter the vehicle itself.
8. Keep the set traceable
Name the files with a stable vehicle key, capture date, view and sequence—for example, stock-1842_20261006_int-driver-seat_02.jpg. Keep the originals together and record which derivative files were approved for the listing. If mileage, condition or included equipment changes, take a new dated set instead of quietly mixing old and new images.
For dealer inventory, confirm that the photographed condition and written listing do not conflict with the current transaction documents. The FTC’s Dealer’s Guide to the Used Car Rule explains the federal Buyers Guide requirements for covered dealers. Interior photographs do not replace that form, warranty terms, state disclosures or an inspection.
Fictional example: one wear point, four useful records
The following example is fictional and is not an AutoDream listing.
A seller notices shine and a 1-inch surface crack on the outer driver’s seat bolster. Photo 1 shows the front cabin. Photo 2 shows the entire driver’s seat. Photo 3 locates the crack on the outer bolster. Photo 4 shows the surface detail under diffused daylight.
The listing says: “Driver’s outer seat bolster has visible surface shine and an approximately 1-inch crack, shown in photos 2–4. Cause and repair life not assessed.”
The seller keeps the original files dated October 6 and does not write “minor,” “easy fix,” “no structural issue” or “otherwise perfect,” because the photographs do not establish those conclusions.
Reshoot the interior when
- new wear, a tear, stain, odor treatment or repair changes the condition;
- the odometer or included equipment has materially changed;
- a seat cover, cargo liner or accessory is added or removed;
- old images no longer match the vehicle’s color, trim or configuration;
- the published files are too dark, blurred or compressed to show the described condition;
- a buyer identifies a genuine gap that the current set cannot answer.
Interior wear photo checklist
- Record the date, odometer and starting interior configuration.
- Remove personal items without hiding wear or excluded equipment.
- Use even, neutral light and disable beauty filters.
- Capture the same ten views in a fixed order.
- Use context, location and detail frames for important wear.
- Show the full steering wheel before high-touch close-ups.
- Photograph rear seats and floor areas, not only the driver’s seat.
- Show cargo normal, lower-storage and alternate configurations separately.
- Include only accessories actually offered with the vehicle.
- Describe observations without inventing causes or diagnoses.
- Preserve originals and keep publication edits traceable.
- Never remove or soften condition evidence digitally.
- Replace stale images when the vehicle or included items change.
- Keep listing claims aligned with applicable written documents.
A consistent interior photo set helps a buyer see what you saw and identify what still needs an in-person check. Its job is not to make wear disappear; it is to make the vehicle’s current visible condition easier to understand.
Ready to list your car?
Put your vehicle details and photos together, then start your listing on AutoDream.
Create your listing