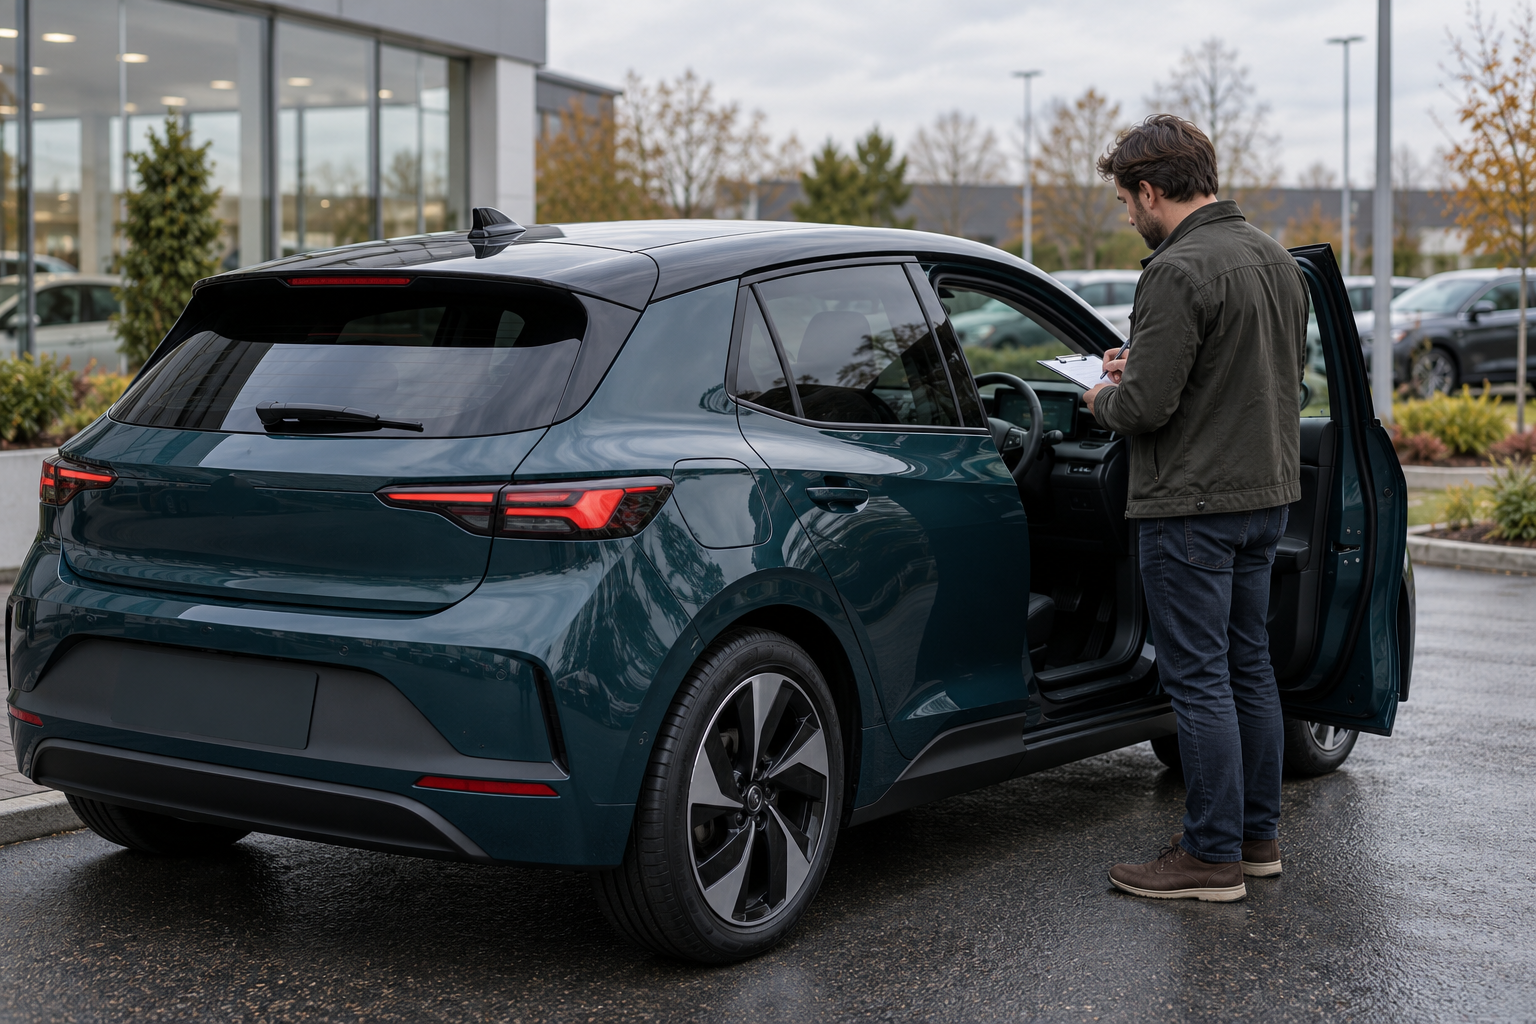
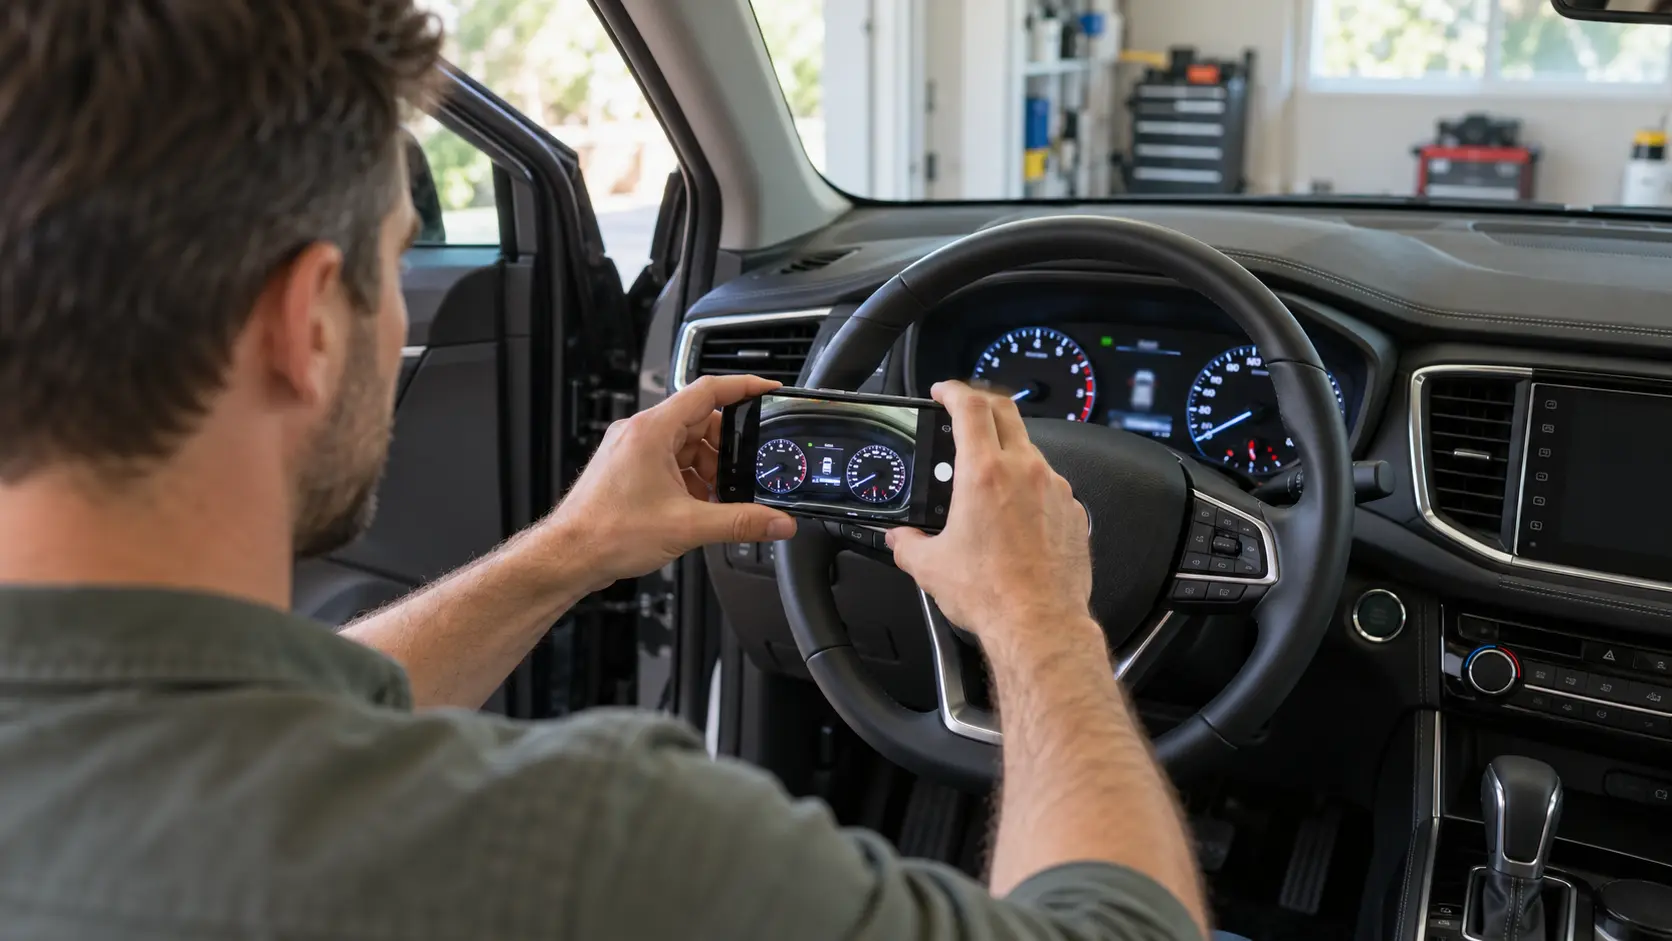
A single dashboard photo can answer several buyer questions—or create new confusion. The number may be a trip meter instead of the total odometer, the unit may be cropped out, glare may cover a warning indicator, or the cluster may be photographed during its normal startup check and presented as though every light stayed on.
This guide gives private sellers and dealership staff a repeatable photo sequence for the odometer and instrument cluster. It creates a dated visual record for a listing; it is not a legal odometer disclosure, diagnostic scan, mechanical inspection or guarantee that no warning will appear later. The illustration above is fictional and does not show a real vehicle, mileage or warning-light result.
1. Park the car safely and record its exact state
Photograph the cluster only while the vehicle is securely parked in a legal, ventilated location. Select Park or the applicable secure gear, apply the parking brake and keep the vehicle stationary. Do not take dashboard photos while driving.
Before each image, record which state the vehicle is in. Depending on the vehicle, useful labels may include:
- Vehicle off: the cluster is dark or in its shutdown state.
- Ignition on, engine off: applicable only when the vehicle and manufacturer instructions support this state.
- Engine running: for an internal-combustion vehicle after normal startup.
- READY state: for a hybrid or electric vehicle when the manufacturer identifies that state.
- Accessory mode: only when that is the actual state; do not confuse it with a running or READY vehicle.
Different vehicles use different startup sequences and symbols. Use the exact owner's manual for the year, make, model and equipment instead of assuming one procedure applies to every car.
2. Capture the same seven views in the same order
A consistent order makes the set easier to review and harder to mix with another vehicle. Use this sequence as a practical starting point:
| Photo | View | What it should show |
|---|---|---|
| 1 | Driver-area context | The steering wheel, complete cluster and surrounding dashboard so the location is clear. |
| 2 | Full cluster before startup | The complete instrument panel in the exact pre-start state supported by the vehicle. |
| 3 | Full cluster after startup | The complete cluster after the normal startup sequence has settled, labeled engine-running or READY as applicable. |
| 4 | Total odometer close-up | The total distance reading and its displayed unit, with enough surrounding cluster context to locate it. |
| 5 | Active message page | Any currently displayed warning, service or information message, without scrolling past it. |
| 6 | Indicator detail | A closer image of any light or symbol that remains visible after startup, while retaining nearby context. |
| 7 | Final whole-cluster check | The entire cluster again after all detail pages have been photographed. |
If the cluster cycles through several messages, photograph each page separately. Do not delete the full-cluster images in favor of close-ups; the wide views show which indicators were visible at the same time.
3. Make sure the photo shows the total odometer
Many clusters can display a trip counter, remaining range, service interval or average consumption in the same area as the odometer. Select the total odometer using the manufacturer-supported control and confirm the label and unit are visible. Do not reset a trip meter merely to make the screen look cleaner.
- Show the complete number without covering the first or last digit.
- Include mi, km or the vehicle's displayed unit in the frame.
- Do not convert the screen value inside the image. Put any checked conversion in the listing text and retain the original unit.
- If the display is replaced, inoperative or known not to reflect actual mileage, do not describe the photographed number as verified actual mileage.
- Compare the photographed reading with the title, service records and inventory record; document—not erase—any mismatch.
NHTSA's odometer-fraud guidance advises buyers to compare the vehicle's displayed mileage with the title, maintenance or inspection records and a vehicle-history report. A listing photo is one dated observation, not a complete mileage history.
4. Do not confuse the startup check with a persistent warning
Some indicators illuminate briefly when a vehicle powers up or performs a system check. Others may remain visible. A still image without timing or state can make those different moments look identical.
Capture and label at least two moments when the vehicle supports them safely:
- Before normal startup: identify the exact state and photograph the whole cluster.
- After the normal startup sequence settles: identify engine-running or READY state and photograph the whole cluster again.
Do not claim that a briefly illuminated symbol is a fault unless the applicable manual or a qualified professional supports that conclusion. Likewise, do not crop a light out of the after-start image or use only the moment when it is not visible. The pair of images should show the sequence honestly.
5. Control glare, focus and exposure without changing condition
Instrument clusters combine dark surfaces, bright pixels and reflective clear covers. Automatic camera settings can make the digits readable while hiding dim indicators, or expose the dashboard while turning the display white.
- Park in open shade or a bright garage with even light.
- Turn off the phone flash if it creates a reflection across the cluster.
- Hold the camera square to the display and keep the steering wheel from covering important areas.
- Tap the cluster on the phone screen to focus and adjust exposure modestly.
- Take a second angle if reflections remain, but preserve orientation.
- Review the saved full-size image before moving the vehicle.
- Retake blur; sharpening cannot restore a number or symbol that was never captured.
Reasonable cropping and overall exposure correction can improve readability, but editing must not remove a warning, change a digit, replace a display, darken one area selectively or generate a cleaner cluster. Keep the original files and publish derivatives only when needed.
6. Make the photo set traceable
Create a short session record that connects the images to one vehicle without publishing private information. The internal record can include the full VIN or stock number, but a public image should not accidentally expose a registration document, address, phone notification or other unrelated personal data.
| Field | Example format |
|---|---|
| Vehicle key | Stock number or a privacy-safe internal identifier |
| Capture date and local time | 2026-10-11, 8:35 a.m. PDT |
| Displayed reading | Exact digits as shown |
| Displayed unit | Miles or kilometers |
| Vehicle state | Off, ignition-on/engine-off, engine-running, READY or accessory |
| Visible indicators | Observed symbols or messages, without diagnosis |
| Original filenames | Stable vehicle key, date, view and sequence |
| Reviewer | Person who matched the set to the listing |
Phone metadata can be useful, but it may change during export or editing. Keep an explicit record rather than relying only on EXIF data.
7. Describe what is visible without inventing a diagnosis
A photograph can show that a symbol or message was visible at a particular moment. It cannot establish the cause, required repair, repair cost or future behavior. Use narrow language and identify what remains unknown.
Clear listing note: “Dashboard photos were taken October 11, 2026. The total odometer displayed 78,412 miles. Photo 2 shows the ignition-on/engine-off state; photo 3 shows the engine-running state after startup. An amber tire-pressure symbol remained visible. Cause has not been diagnosed; buyer may arrange an independent inspection.”
Avoid: “Only needs air,” “easy sensor fix,” “no warning lights” or “mileage guaranteed” unless competent, vehicle-specific evidence supports the entire statement.
The numbers and situation above are fictional. They do not describe an AutoDream vehicle or customer.
The FTC's advertising guidance states that advertising claims must be truthful, non-deceptive and evidence-based. A clear photo supports only the condition visible in that image and state.
8. A dashboard photo does not replace the required mileage disclosure
For U.S. ownership transfers, federal odometer rules require mileage information and accuracy statements through the applicable title or reassignment process, subject to the rule's details and exemptions. The current 49 CFR Part 580 describes those requirements. State forms and procedures can add transaction-specific steps.
Do not use a listing image, text message or photo filename as a substitute for the official title or odometer disclosure required for the transfer. If the displayed reading is known not to be actual mileage, use the applicable disclosure process and precise listing language rather than quietly presenting the number as verified.
For covered U.S. dealer sales, the FTC's Dealer's Guide to the Used Car Rule explains the Buyers Guide requirements. Dashboard photos do not replace that form, warranty terms, required odometer paperwork or an inspection.
9. Dealer workflow: photograph, review, update and hand off
Dealers can add a dashboard gate to inventory intake and listing review:
- Match the physical vehicle, stock number and VIN before the photo session.
- Record the displayed unit and total odometer.
- Capture the full cluster before and after normal startup.
- Photograph every visible message or persistent indicator.
- Compare the reading with acquisition, title and service records.
- Escalate conflicts instead of editing the photo or guessing.
- Publish the approved current set and preserve the originals.
- Reshoot when mileage, warning status, repair evidence or cluster condition changes.
- Review the final reading and required paperwork again at delivery.
Do not reuse a cluster photo from a different vehicle, an older inventory cycle or a pre-repair state without clearly dating and explaining it. If a repair changes the displayed condition, keep the earlier record internally and publish a new dated set.
10. Buyer review: ask for context, not just a close-up
A buyer reviewing the listing should be able to answer four questions: Which vehicle is this? Which display is the total odometer? What unit is shown? What vehicle state and date does each dashboard photo represent?
- Ask for a current whole-cluster photo, not only a cropped mileage number.
- Request both pre-start and settled running/READY views when applicable.
- Compare the reading with title, service and history records.
- Ask about every visible message or indicator.
- Use the photo set to brief an independent inspector.
- Recheck the cluster at the in-person viewing and again before delivery.
Odometer and dashboard photo checklist
- Park securely and never photograph while driving.
- Record the exact vehicle state for every image.
- Capture one wide driver-area context view.
- Photograph the full cluster before startup when supported.
- Photograph the full cluster after the normal startup sequence settles.
- Show the total odometer and its original unit.
- Do not substitute a trip meter, range or service interval.
- Capture each visible message and persistent indicator.
- Control glare without hiding the display.
- Keep original files and avoid condition-changing edits.
- Record date, time, vehicle key, state, reading, unit and reviewer.
- Compare mileage with title, service and history records.
- Describe observations without diagnosing the cause.
- Use required title and odometer-disclosure forms for the transfer.
- Reshoot when mileage or dashboard condition changes.
A useful dashboard photo set is not just a close-up of a number. It is a short, traceable sequence that shows the total odometer, unit, vehicle state and visible indicators without removing context or making claims the images cannot prove.
Ready to list your car?
Put your vehicle details and photos together, then start your listing on AutoDream.
Create your listing