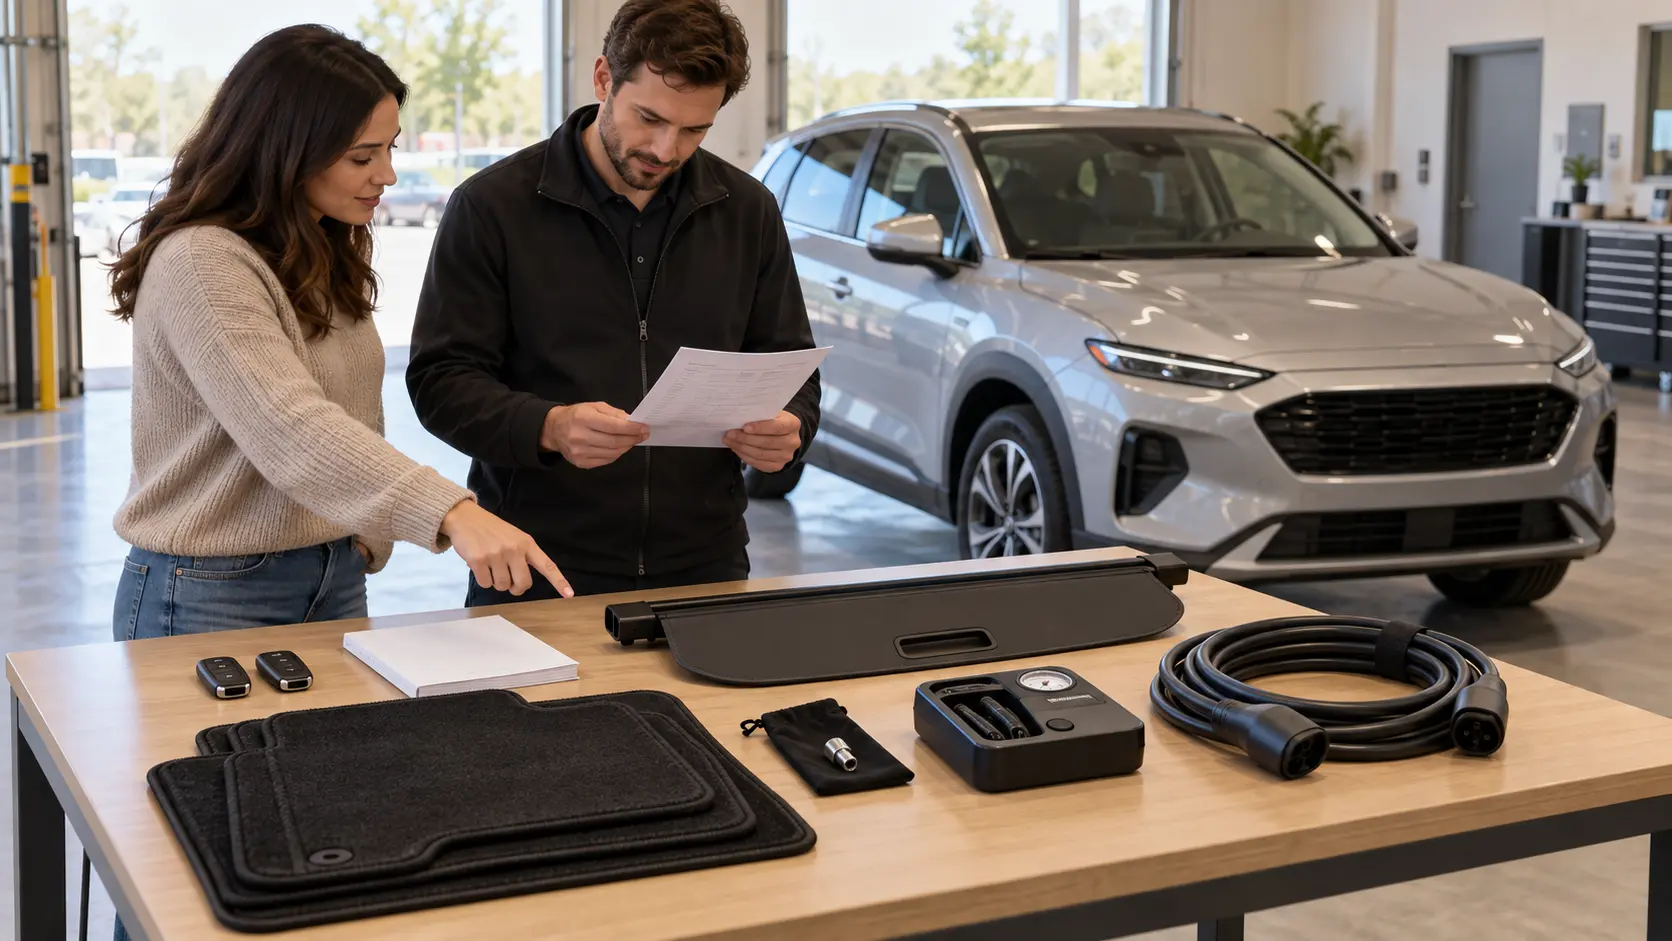
“Everything shown is included” sounds simple until the buyer arrives and a second key, cargo cover, wheel-lock key or charging cable cannot be found. A useful listing separates the vehicle itself from the removable items that will actually transfer with it.
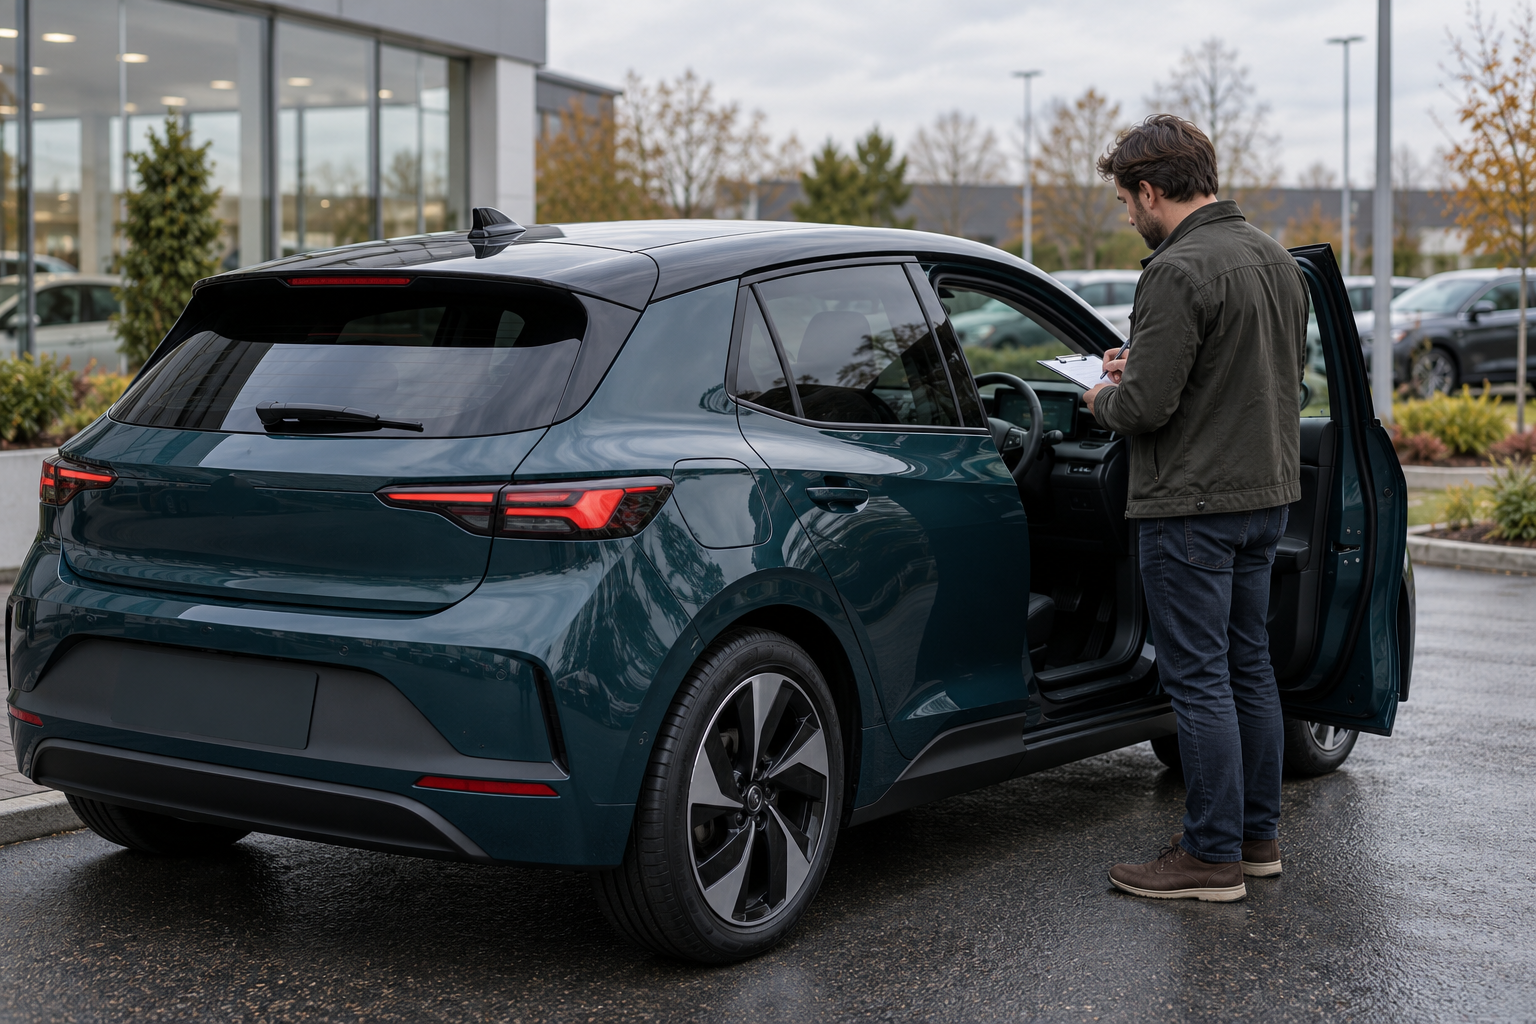
This guide gives private sellers and dealership staff a practical way to inventory, photograph and hand over included items. It does not replace the title, bill of sale, Buyers Guide, warranty, odometer disclosure or any document required for the transaction. The illustration above is fictional and does not show a real listing, vehicle or customer handoff.
1. Define the boundary before you write the listing
Start with one question: What will physically leave with the buyer? Walk around the car, open each storage area and list removable items rather than relying on memory or a generic equipment description.
Use categories so small items are not overlooked:
- Access: keys, fobs, valet keys, emergency key blades and remote controls.
- Vehicle information: owner's manuals, supplement booklets, service-record copies and warranty documents that are actually transferable.
- Cabin and cargo: floor mats, cargo cover, cargo net, seat or head-rest pieces and removable storage trays.
- Tire and roadside equipment: spare tire, jack, lug tool, inflator, sealant kit and wheel-lock key.
- Charging equipment: portable cordsets, adapters and storage bags for an EV or plug-in hybrid.
- Other accessories: roof-rack crossbars, removable tow accessories, first-aid kits or model-specific tools.
Do not count a permanently installed vehicle feature as a separate handover item. Do not count something visible in a garage or dealership photo unless it is part of the sale.
2. Give every item a clear status
A binary “yes/no” column is not enough when an item is present but unverified or promised but still in storage. Use four statuses:
| Status | Meaning | Example |
|---|---|---|
| Included and present | The exact item has been located and is intended to transfer. | Two remote fobs photographed on October 12. |
| Included, retrieval pending | The seller intends to include it but has not yet placed it with the vehicle. | Cargo cover stored off-site; do not mark complete until retrieved. |
| Not included | The item will not transfer, even if it appears in an older photo. | Roof box shown in a prior photo belongs to the seller. |
| Unknown or not verified | Presence, identity, operation or compatibility has not been confirmed. | One loose adapter has no verified vehicle application. |
Only “included and present” should pass the final handover check. If an item remains pending, update the listing or resolve it before the buyer relies on the promise. The FTC's advertising guidance states that advertising claims must be truthful, non-deceptive and evidence-based. That principle applies to a claim that a specific accessory comes with the car.
3. Count keys and access devices individually
“Two keys” can mean two fully functioning remote fobs, one remote plus one mechanical blade, or two pieces that do not both start the car. Count and describe each item separately.
- Photograph the keys together without showing a readable key code, address tag or dealership customer label.
- State whether each key locks, unlocks and starts or enables the vehicle, but only after a current test.
- Identify a valet key, emergency blade, card key or digital key accurately; do not call it a full spare fob if it is not one.
- Remove the seller's house keys, gate remotes and unrelated access devices from the ring.
- If a manufacturer app or digital key was used, follow the separate account-removal process rather than treating a physical-key count as proof that access has been revoked.
A key test is a dated observation, not a promise about future battery life. If a fob battery is weak or a key has visible damage, disclose that narrow fact.
4. Separate manuals and records from transaction documents
List the physical manual set by what is present: main owner's manual, infotainment supplement, maintenance booklet, navigation booklet and case. Do not claim a “complete manual set” unless you have checked the exact vehicle's document list.
Service records need a privacy review. Remove or redact prior owners' addresses, phone numbers, payment details and unrelated account information before giving copies to the buyer. Keep estimates, recommendations and completed invoices labeled correctly; a folder of paperwork does not prove every recommended service was performed.
The included-items sheet should not be used as a substitute for legal or sales documents. For covered U.S. dealer sales, the FTC's Dealer's Guide to the Used Car Rule says the buyer must receive the original or a copy of the vehicle's final Buyers Guide at the sale. Warranty documents and the Buyers Guide also have separate roles. Keep that compliance handoff distinct from the accessory inventory.
5. Inspect the tire and roadside compartment safely
Open the designated storage area while the vehicle is parked. Record what is actually there: full-size spare, temporary spare, inflator, sealant container, jack, lug tool, tow eye, wheel-lock key or an empty compartment. Do not assume every model was supplied with a spare tire.
For a spare tire, record visible condition and pressure only if it can be checked safely and with the correct information. NHTSA's TireWise guidance says to check all tires, including the spare, when cold and to use the vehicle manufacturer's pressure information from the Tire and Loading Information label or owner's manual. A photographed spare or pressure reading is not proof that the tire is safe or ready for every use.
For an inflator or sealant kit, photograph the label and record any visible date or damage without promising that the kit will work. Do not test a sealant canister merely for the listing. If a wheel-lock key is present, show its pouch and storage location without claiming it fits until it has been matched to the vehicle's locks.
6. Record removable cabin and cargo pieces
Photograph floor mats as a set and state how many are included. Distinguish carpet mats from all-weather mats and note visible wear, missing clips or mismatched pieces. Do the same for a cargo cover, net, divider, parcel shelf, removable third-row head restraints or seat inserts.
Show each item both in context and separately. A cargo cover photographed while installed establishes its location; a second image of the removed item can show tears, missing end caps or other visible condition. Do not describe an accessory as original equipment unless a reliable part label, invoice or manufacturer information supports that claim.
If a personal child restraint, phone mount, dash camera, toll tag or garage remote appears in a photo, mark it excluded and remove it before delivery unless the sale explicitly includes it and transfer is lawful and intended.
7. Identify EV and plug-in charging equipment precisely
For an electric vehicle or plug-in hybrid, list portable charging equipment item by item. Photograph the cordset, control box, vehicle connector, wall plug and any separate adapters without exposing serial numbers or account labels unnecessarily.
The U.S. Department of Energy's Alternative Fuels Data Center consumer guide notes that connector compatibility matters and describes portable cordsets and several connector types. Do not call a loose cable “compatible” based only on appearance. Match the equipment to the vehicle and manufacturer information, and state the exact source checked.
- Say whether the cordset is included, excluded or unknown.
- Record manufacturer and part markings only when readable and verified.
- Describe visible cuts, crushed sections, bent pins or missing covers without attempting an electrical diagnosis.
- Do not energize damaged or unverified charging equipment for a listing demonstration.
- Do not include a wall-mounted charger, household adapter or extension cord merely because it appears near the car.
If a buyer needs to know whether equipment will work at a particular home or public station, direct them to the vehicle and charging-equipment manufacturers or a qualified installer. The handover list documents what transfers; it does not certify an electrical installation.
8. Photograph the inventory as one traceable set
Create a wide group photo plus close-ups for items whose identity or condition matters. Use a plain background and a temporary item label such as K1, K2, T1 or C1. Keep the labels in the internal record; remove personal paperwork and readable codes from public images.
For each item, record:
| Field | Practical entry |
|---|---|
| Item ID | K1, M1, T1, C1 or another stable code |
| Description | Exact observed item, not a guessed name |
| Quantity | Individual count rather than “set” when pieces can be missing |
| Status | Included, pending, excluded or unknown |
| Visible condition | Specific marks, damage or missing parts |
| Verification | What was tested, by whom and on what date |
| Storage location | Glovebox, cargo well, parts shelf or delivery bin |
| Photo reference | Original filename or internal image number |
Keep original photos. Editing may crop empty space or correct overall exposure, but it should not add an item, hide damage, change a label or make a generic accessory look vehicle-specific.
9. Treat the list as a changing record
An accurate list can become wrong after a test drive, repair, detail or staff transfer. Date the inventory and review it whenever an item is moved, replaced or promised to someone else.
Dealers can place all included items in a vehicle-specific delivery bin or sealed bag with the stock number. Private sellers can use a labeled box kept beside the sale documents. In both cases, update the public listing if something previously advertised will no longer be included.
Do not mark the handover complete from a photograph alone. The closing check should compare the physical item, the latest listing, any written promise and the final inventory.
A fictional handover example
Included and present: two tested remote fobs; main owner's manual and infotainment supplement; four carpet mats; one cargo cover; one inflator kit with its visible label photographed; one wheel-lock key in a black pouch; and one portable charging cordset matched to the vehicle using the manufacturer part information.
Not included: the roof box visible in an older photograph and the seller's wall-mounted home charger.
Pending resolution: a cargo net mentioned in an early message has not been located. The seller removes that promise from the listing unless the net is found before signing.
The people, vehicle, equipment and result in this example are invented. They do not describe an AutoDream customer or listing.
Included-items handover checklist
- Walk through every cabin, cargo and storage area.
- Count each key, fob and emergency blade separately.
- Test only the functions you will describe.
- List manuals and supplements by what is physically present.
- Redact private information from service-record copies.
- Inventory the spare, jack, tools, inflator and wheel-lock key.
- Count mats, covers, nets and removable interior pieces.
- Identify charging cords and adapters from verified markings and sources.
- Mark visible-but-excluded items explicitly.
- Photograph the group and any condition detail.
- Record status, quantity, condition, storage location and check date.
- Update the listing when an included item changes.
- Keep the accessory inventory separate from required transaction documents.
- Compare the final physical handover with every written promise.
- Have buyer and seller retain the final item list when appropriate under local practice.
The goal is not to make the bundle look larger. It is to make one narrow promise verifiable: these are the exact removable items that come with this car, in the condition and quantity recorded at handover.
Ready to list your car?
Put your vehicle details and photos together, then start your listing on AutoDream.
Create your listing