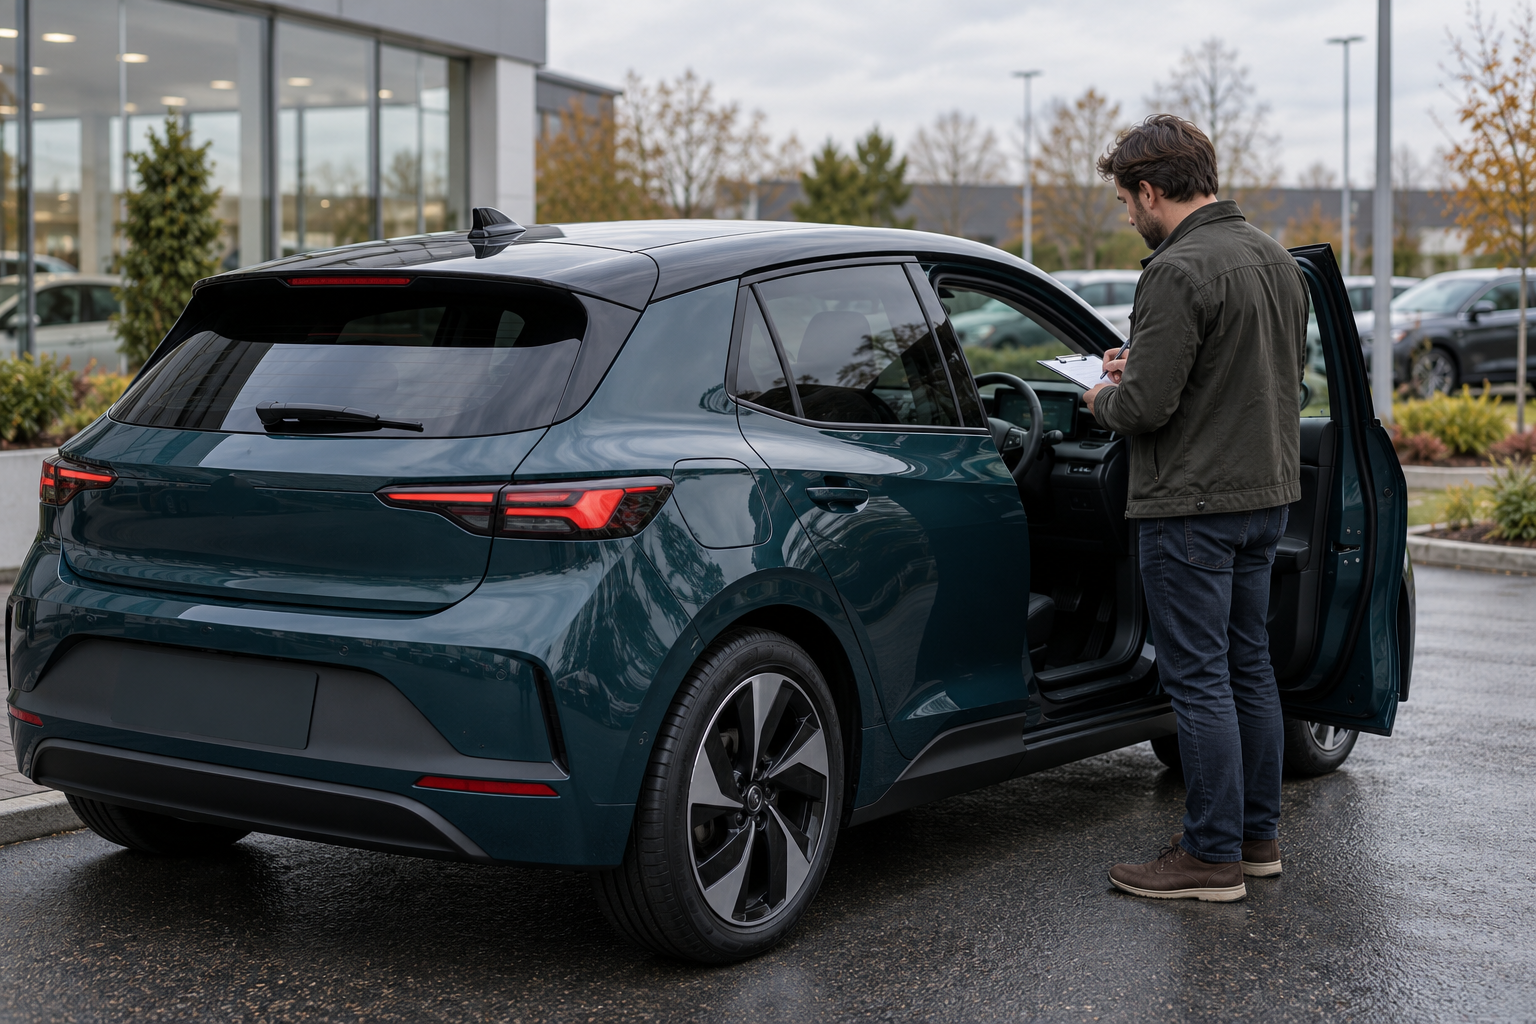
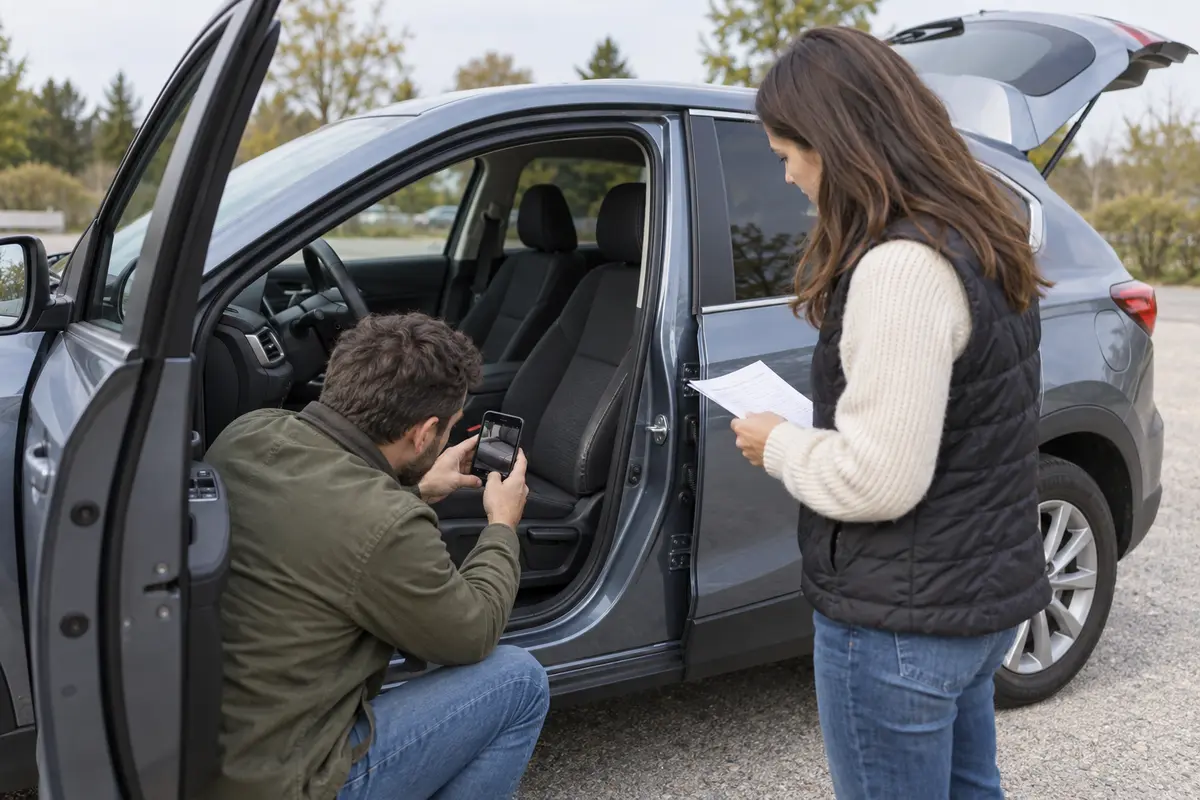
A second used-car viewing should not be a repeat of the first walk-around. By this point, the buyer usually has a short list of unresolved questions: Is the driver’s seat wear deeper than it looked? Does the cargo floor lift cleanly? Is the second key present? Has the odometer or visible condition changed?
A focused photo list lets the seller answer those questions before or during the return visit without sending the same general gallery again. Photographs can document visible details at a particular moment, but they do not prove ownership, mechanical condition, accident history, recall status or future reliability. The illustration above is fictional and is not evidence of a real vehicle, inspection or customer interaction.
1. Start with the buyer’s open questions
Ask the buyer to list the exact details that remain unclear after the first viewing. Turn each question into one photograph or short sequence with an identifiable purpose. “More interior photos” is vague. “One wide view and one close view of the outer driver-seat bolster in daylight” is actionable.
Create a small request table before taking any picture:
| Buyer question | Required view | What the photo can show | What remains unresolved |
|---|---|---|---|
| How worn is the driver’s seat? | Wide cabin, seat context, close detail | Visible surface wear and location | Material strength beneath the surface |
| Will my cargo fit? | Open hatch, full cargo floor, folded-seat layout | Visible shape and configuration | Exact fit without verified measurements |
| Are both keys included? | Keys together beside a private vehicle reference | Items physically present | Programming, battery health or every function |
| Did the condition change? | Fresh image matching the earlier angle | Visible difference at the new date | Hidden or mechanical changes |
Remove requests that were already answered clearly. The goal is a compact evidence set, not a larger gallery.
2. Date the new set and identify the exact vehicle
Record the date, the current odometer display and the unit shown. Use a stable private reference such as the seller’s stock key or a short vehicle code so the second set cannot be confused with photographs of another car. Do not place a buyer’s name, home address, registration, title or full VIN in a public gallery.
If the buyer needs the full VIN for a private identity check, send it through an appropriate private channel and compare it with the vehicle during the visit. NHTSA’s VIN decoder can identify information encoded in a VIN using manufacturer-reported data, but it is not proof of ownership, current mileage, condition or every installed option.
Begin the new set with one current whole-vehicle frame. That context image helps show which car the close-ups belong to. It does not need to replace the listing’s main photograph.
3. Use repeatable, neutral light
Photograph visible condition in open shade or soft, even daylight when possible. Avoid filters, portrait blur, extreme contrast and reflections that conceal texture. Clean loose dirt only when that reflects how the car will be shown; do not polish, wet or digitally remove a mark merely to make it less visible.
When a buyer wants to compare a detail with an older image, use roughly the same angle, distance and lighting. Label the older and newer dates rather than presenting two images without context.
The FTC’s advertising and marketing guidance says advertising claims must be truthful, nondeceptive and evidence-based. A seller’s captions and edits should not make a visible condition claim broader than the image supports.
4. Use three views for a specific wear or damage question
For a scratch, dent, stain, tear or worn control, take three images:
- Wide view: shows the vehicle area, such as the entire door, seat or cargo panel.
- Context view: shows the mark and nearby seams, handles or body lines so its location is clear.
- Close view: shows visible surface detail without a digital zoom that invents sharpness.
Include a ruler or reference object only when it can be positioned without scratching the vehicle and the scale is easy to understand. State that the measurement is approximate unless a proper measurement was taken. Never use a flattering angle to imply that damage disappeared.
Our guide to describing scratches, dents and interior wear provides condition wording that can accompany the pictures.
5. Photograph the high-touch areas the buyer actually asked about
A second visit often focuses on areas that reveal day-to-day use: the outer driver-seat bolster, seat cushion, steering-wheel rim, shifter, frequently used buttons, door pull, center armrest, carpet and pedal area. Use one wide interior frame, then the requested close details.
Do not treat shine, wrinkles or discoloration as a diagnosis. A photograph can show visible appearance. It cannot reliably establish material thickness, repair quality, odor, moisture beneath carpet or how a control behaves over time.
If a button label or warning indicator is important, photograph the entire control area first and then the detail. Add a caption explaining whether the vehicle was off, in accessory mode or running, because dashboard lights can appear differently in each state. A dashboard image is not a diagnostic scan.
6. Show cargo and seating configurations completely
Open the cargo area and photograph the full floor, side panels, hatch trim and any visible wear. If seats fold or move, show the normal seating position and the agreed alternate configuration. Include removable cargo covers, dividers, mats or third-row pieces only if they are part of the sale.
Photographs can show shape and configuration but not exact capacity. If fit matters, provide actual measurements taken from clearly identified points and state the units. Do not copy a generic cargo-volume figure from a different trim or seating configuration.
If the buyer plans to inspect the spare tire or repair kit, show the compartment open only when it can be accessed safely and returned correctly. List missing or replaced items instead of arranging unrelated accessories to make the set appear complete.
7. Answer wheel and tire questions by position
Label each wheel by its position: front left, front right, rear left and rear right. Photograph the wheel face, visible sidewall information and the specific curb mark, crack concern or tread area the buyer asked about. Keep all four positions separate.
A photograph cannot establish internal tire damage, alignment, exact tread depth or safe remaining service life. If those questions matter, record appropriate measurements and obtain a qualified inspection. Do not call a tire “new” or “safe” based only on appearance.
8. Inventory keys and included accessories
Place the items that will be included on a plain surface and photograph them together: keys, remotes, charging cable, wheel-lock key, cargo cover, manuals or other agreed accessories. Then list each item in the caption.
Presence does not prove operation. Test functions appropriately during the visit and keep subscription, programming, battery or compatibility questions separate. If an item shown in the original gallery is no longer included, correct the listing and tell the buyer before the second visit.
9. Photograph record categories, not private information
If the buyer wants to know which records are available, photograph an index or privacy-reviewed cover page rather than spreading unredacted invoices, addresses, account details and signatures across the vehicle. State the date range and categories covered.
A record set and a current inspection answer different questions. The FTC’s used-car buying guidance explains that a vehicle-history report is not a substitute for an independent mechanical inspection and that history reports typically do not list mechanical problems. A second-viewing photo set is even narrower: it supports visual questions, not a mechanical conclusion.
Offer the buyer appropriate access to the original or privacy-reviewed records during the visit. Do not crop away an unfavorable recommendation while displaying the completed-work portion of the same document.
10. Keep engine-bay and underbody requests within safe limits
Photograph the engine bay only when the vehicle is parked, the seller knows how to open and secure the hood, and no one reaches into moving or hot components. Use a wide frame and the specific visible area requested. Do not stage a fluid level, disconnect a component or clean away fresh evidence of a leak merely for the picture.
Do not crawl under an unsupported vehicle or ask someone to lift it without appropriate equipment and qualified assistance. If the buyer wants underbody, leak, suspension or structural information, agree on an independent inspection location and scope.
11. Send a numbered set with factual captions
Rename the new photographs so the buyer can refer to them easily:
SV2-01-whole-vehicle-left.jpgSV2-02-driver-seat-wide.jpgSV2-03-driver-seat-bolster-close.jpgSV2-04-cargo-floor-seats-up.jpgSV2-05-cargo-floor-seats-folded.jpgSV2-06-keys-and-accessories.jpg
Use captions that state what is visible and when it was photographed. “Driver-seat outer bolster, photographed September 27 in daylight; visible creasing and one surface scuff” is more useful than “seat is fine.” Keep observations separate from repair estimates or diagnoses.
For a larger inventory workflow, see our vehicle photo naming and folder system.
A focused fictional second-viewing set
A fictional buyer viewed a six-year-old crossover and left with four questions: the depth of wear on the driver’s seat, the shape of the cargo floor with the rear seats folded, whether two keys were included, and whether a wheel scuff had changed since the listing photos.
The seller does not resend 45 original images. Instead, the seller sends nine dated images: one current whole-car frame, three seat views, two cargo configurations, one keys-and-accessories inventory and two wheel-scuff views matching the earlier angle. The captions state what is visible and identify the close-up as a surface view, not a material or safety assessment.
The buyer still arranges an independent inspection for mechanical and structural questions. The new set resolves the visual questions and leaves the inspection questions where they belong. This example is fictional and does not predict a sale or vehicle outcome.
Second-viewing photo checklist
- Write the buyer’s remaining questions before taking pictures.
- Remove requests already answered by the first gallery.
- Date the new set and attach it to the exact vehicle reference.
- Record the current odometer display and unit when relevant.
- Start with one current whole-vehicle context frame.
- Use neutral, repeatable light with no condition-altering filters.
- Use wide, context and close views for each wear or damage item.
- Photograph requested high-touch areas without diagnosing them.
- Show cargo and seating in each agreed configuration.
- Label wheel and tire images by vehicle position.
- Inventory keys and included accessories separately.
- Protect personal information in records and documents.
- Keep dashboard photos separate from diagnostic conclusions.
- Do not photograph under an unsupported vehicle.
- Use an independent inspection for mechanical, structural and safety questions.
- Number the files and add factual, dated captions.
- Correct the listing if the new set reveals a material change.
- Keep the original files and a record of what was shared.
A good second-viewing photo set is smaller than the first gallery and more useful. Each image should answer one remaining question, identify its context and leave mechanical conclusions to the evidence and professionals qualified to make them.
Ready to list your car?
Put your vehicle details and photos together, then start your listing on AutoDream.
Create your listing